There are quite literally thousands of PC cases out there, but not all of them are a good choice for designing and building a custom water-cooling loop inside. Something like the NZXT H210i may look great with an all-in-one liquid cooler, but you'll struggle to put together a loop yourself when factoring in the pump, reservoir, tubing, and more. It's possible but not ideal if you're just starting out.
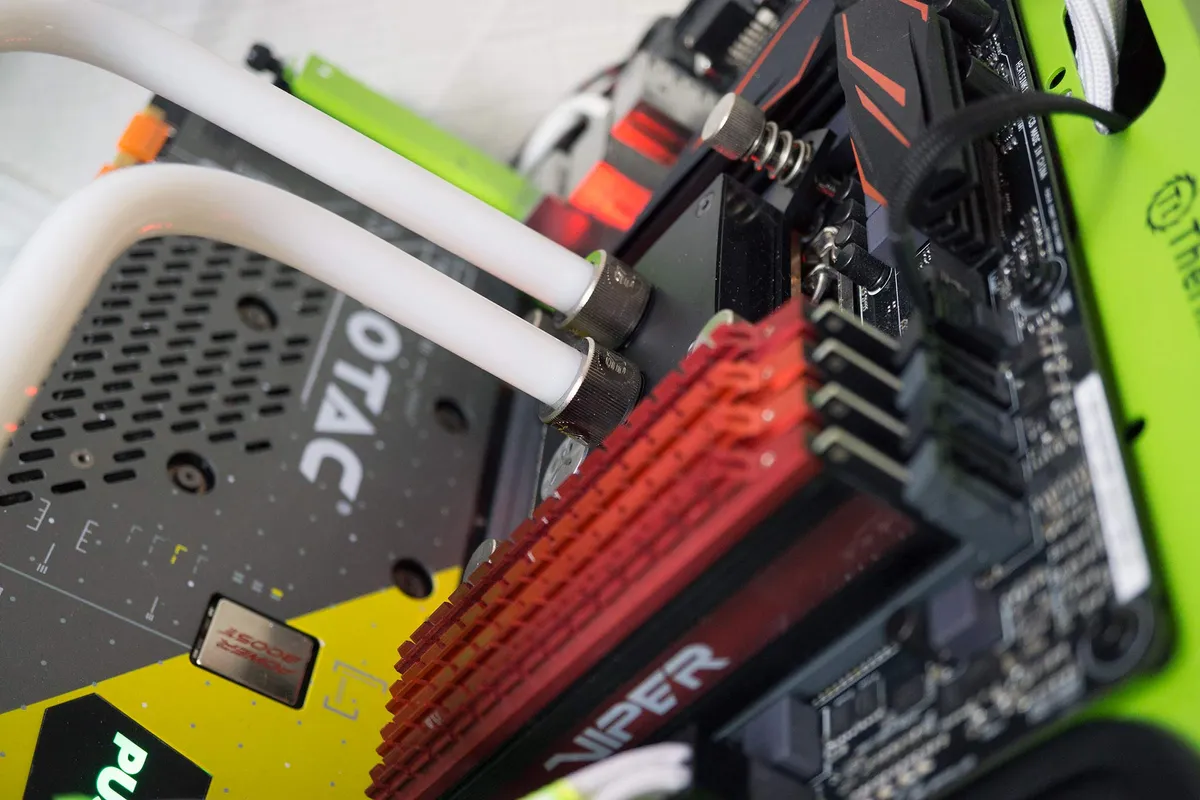
Even though we're using liquid and radiators to transfer and dissipate heat from components, it's important to factor in airflow since it's what will be required by the blowers you install on the said radiator. Other components on your motherboard will also require some active airflow, including VRMs, RAM, chipsets, and more.
I'm going to run you through some factors to bear in mind when shopping around for the best PC cases to use with your next water-cooled build.
Bigger doesn't mean better
Size matters

Space inside the chassis is of great concern for PC builders as a whole since you need to fit everything inside, but it's a whole different ball game for water-cooling. Not only do you need to include a pump, reservoir, and other parts of the loop, but also hefty radiators. While you can get a small 120mm or 140mm radiator, you'll still need around 50mm between your motherboard and case to fit it with a fan.
Some cases only provide around 30mm of headroom above the motherboard tray, which causes issues with radiator and fan placement. It's not really about the overall dimensions of a PC case, but more about the internal layout and how everything is positioned. So long as you can fit in the major water-cooling parts, you'll be golden.
In my example above, the H210i can technically hold a custom water-cooling loop, but you're going to need to buy a compact reservoir and pump combo unit, as well as a 120mm radiator for the rear of the chassis. It would also be good to remove the cooler shroud on your GPU and buy an appropriate water block for the card.
- Full tower cases provide the most internal space for multi-GPU builds.
- Mid-tower cases are most common for water-cooling builds and come in all shapes and sizes.
- Small form factor (or ITX) cases are usually too compact for water-cooling setups, but some do allow for a custom loop.
For your first water-cooling loop, it's best to go with a full or mid-tower case that provides ample space for a large radiator, reservoir (or distribution plate), pump, and all the necessary tubing. A small form factor case is usually reserved for more experienced system builders, especially when water-cooling the internals.

While the NZXT H210i may be compact in that you can only install a Mini-ITX motherboard, this chassis will allow you to construct your own water-cooling loop with a small reservoir and a 120mm radiator. It's ideal for less powerful builds.

Thermaltake's Tower 900 is about as specialized as you can get for a water-cooling PC case. It has space for two reservoirs supplying liquid to two separate loops, which is perfect if you prefer to keep heat from your CPU and GPU apart.
Where to place everything
Radiator mounts

To mount radiators to the case, you'll need to analyze where the mounting points are. Depending on the radiator's size (s) you plan on using, the PC case will need to have adequate mounting points. A 360mm radiator will require a position with three 120mm fan slots to be securely attached to the chassis.
The majority of full and mid-tower cases on the market will have the longest mount points for fans and radiators on the chassis' front and top. If you have a specialized case with a unique form factor, you may have mounting points elsewhere. It's best to have 240mm or 280mm worth of radiator per component you plan on cooling.
If it's just the CPU that will be cooled by the loop, go with a 120mm or 140mm if it's a low to mid-tier processor, and a 240mm or 280mm radiator if you want to install an Intel Core i9 or AMD Ryzen 9 CPU. The same goes for a GPU, especially if you want to combine both components into a single loop. That'll push our total recommended radiator size up to 480mm to 560mm.
This doesn't have to be a single radiator, and you could use multiple radiators installed throughout the case, linking them up with tubing. Calculate just how many radiators will be required and see if the case can handle everything. It's best to decide what you need to cool before choosing the case, so you don't hit any thermal capacity walls, but choosing the case first can prove a worthwhile challenge.
Build your own custom water-cooling loop
Whether you're an experienced PC builder or just starting out, I've compiled a master guide for building your own custom water-cooling loop. It covers everything from choosing the right tubing and fittings to matching a pump with a water block and radiators. Whether you need to pick up some coolant or check that you're on the right track to put together a compatible system, this guide has you covered.