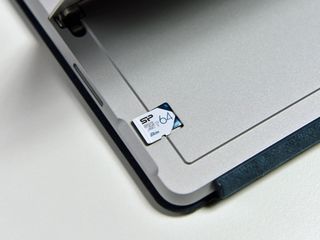
The Surface Go might just be the best portable 2-in-1 around, available in a couple of different configurations that differ in RAM and storage. If 64GB or 128GB doesn't seem like enough space to store your files and apps, you can easily add cheap storage. Here's what you need and how to get it done.
Products used in this guide
- Portable 2-in-1 device: Surface Go (From $399 at Microsoft)
- Affordable storage: Silicon Power 64GB microSD card ($10 at Amazon)
How to add storage to your Surface Go on the cheap
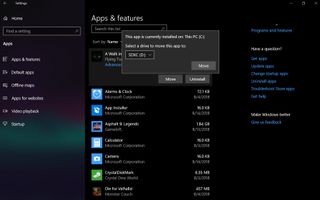
Adding a microSD card to your Surface Go allows for immediate expansion of storage, as Windows 10 will recognize it as soon as you plug it in. While SD cards used to be treated strictly as external storage for photos or other media, Windows 10 gives you the option of doing pretty much anything you would with a microSD card as you would internal storage.
If you'd like to save apps, documents, movies, offline maps, and other media to the microSD card, head to Settings > System > Storage > Change where new content is saved and choose which data you'd like to put on the removable storage. We've even written a guide with a lot more information if you're having issues with the move.
You won't see the same read and write speeds with a microSD card as you will with the built-in eMMC or solid-state drive (SSD) storage, but for the price, the diminished performance is no doubt still worth it for a lot of people. We ran some speed tests to see how well the microSD card stacks up against the Go's internal storage.
| Device | Size | Type | Read | Write |
|---|---|---|---|---|
| Surface Go | 64GB | microSD | 70 to 85 MB/s | 44 to 55 MB/s |
| Surface Go | 64GB | eMMC | 260 MB/s | 145 MB/s |
| Surface Go | 128GB | SSD | 1,185 MB/s | 133 MB/s |
You're clearly not going to get the same performance as with internal storage, but a microSD card is still ideal for apps and games you use less frequently, as well as music, movies, photos, and documents since read and write performance isn't as crucial.
If you're ready to add a microSD card to your Go, Microsoft has made the microSD card reader easily accessible, and adding a card will only take a few seconds.
- Lift the kickstand on the back of your Surface Go to reveal the microSD card reader.
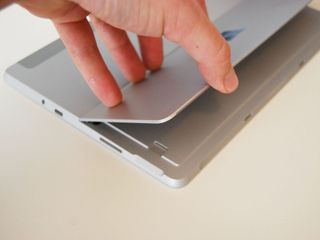
- Slide the microSD card into the slot until you feel a click. The microSD card should be firmly in the slot for it to work properly.
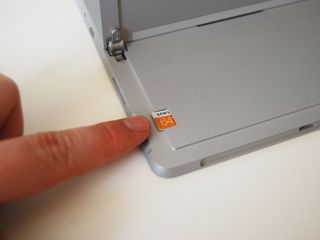
Before removing the microSD card from the Surface Go, ensure you eject it properly to avoid data loss or corruption.
Get the Windows Central Newsletter
All the latest news, reviews, and guides for Windows and Xbox diehards.
- Click the Show hidden icons button on your Surface Go.
- Click the Safely Remove Hardware and Eject Media button.
- Click Eject SDXC.

- Apply pressure to the microSD card until it clicks again, releasing it from the slot.
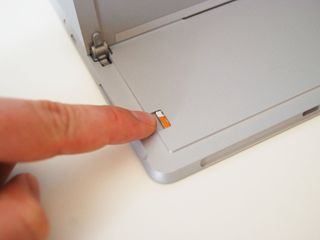
You now know how to add and remove additional storage from your Surface Go.
Our top equipment picks
Here's the gear you need to complete the steps in this guide.
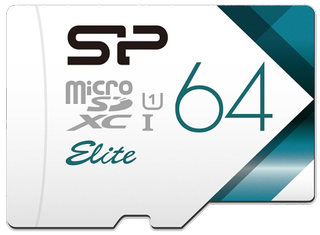
Cheap, efficient storage.
This 64GB microSD card from Silicon Power is about the cheapest you'll find that doesn't cut quality or speed.
In our own testing of a few different microSD cards with the Surface Go, this option delivered performance results that rivaled those of cards that cost upwards of $80. Considering you can grab this one for about $10, this is the best way to add cheap storage.
Additional Equipment
There are a couple other options out there for those who want more storage.
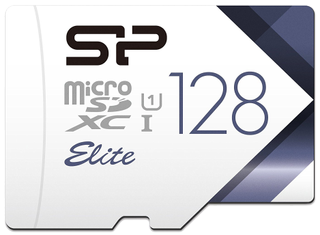
Silicon Power 128GB microSD card ($17 at Amazon)
The larger sibling to the 64GB microSD card from Silicon Power, it nevertheless comes in at a low price and still delivers impressive speeds based on what you're paying.

Samsung EVO Select 128GB microSD card ($20 at Amazon)
Samsung is no slouch in the microSD card race, and this 128GB option with a U3 rating still has a decent $20 price tag. If you trust Samsung, this is no doubt your best bet.

Cale Hunt brings to Windows Central more than eight years of experience writing about laptops, PCs, accessories, games, and beyond. If it runs Windows or in some way complements the hardware, there’s a good chance he knows about it, has written about it, or is already busy testing it.
