How to update your Xbox One controller
Once you know where to look, updating your Xbox One controller with the latest firmware is pretty simple.

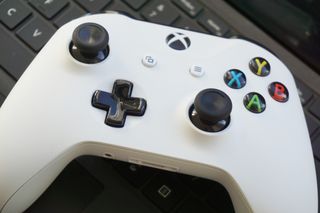
While infrequent, Microsoft has been known to release firmware updates for its Xbox One controllers in the past. Deploying fixes, adding refinements or establishing new features, these updates aim to push to most out of your existing Xbox One controller. And for new buyers of Xbox One Stereo Headset Adapter, Microsoft's external solution for 3.5 mm headsets, a controller firmware update may be required too.
Despite not being mandatory to use your Xbox One controller, it's highly recommended that these updates are installed. These are the steps to quickly update your Xbox One controller and get straight back into gaming.
How to update an Xbox One controller wirelessly

For a majority of recent Xbox One controllers, the easiest way to apply a firmware update is over the wireless connection. However, due to hardware limitations, this functionality is only offered to controllers manufactured during or after June 2015. These headsets can be identified by a 3.5 mm headphone jack on the bottom of the controller, next to the expansion port.
Keep in mind that firmware version numbers also differ between controller variants. For first-generation Xbox One controllers, "2.3.2381.0" is the latest firmware version, while revised controllers with 3.5 mm jack utilize version "2.3.2385.0." Bluetooth-enabled Xbox One S controllers currently receive version "3.1.1221.0."
- Ensure your Xbox One is connected to the internet.
- Open the Settings app on your Xbox One.
- Navigate to the Kinect & devices tab.
- Select Devices & accessories.
- Select More options.
- Check the box labeled Firmware version. If the box reads "No update available" your Xbox One controller is up to date. If the box reads "Update," follow the steps below to update your controller.
- Press A over the Firmware version box.
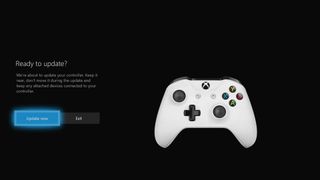
- Select Update now to begin the update. If available, an update for your controller will now download over Xbox Live and automatically install.
How to update an Xbox One controller over Micro-USB

For controllers purchased before June 2015, controllers must be updated over a wired connection. To do so, you'll need a Micro-USB cable, which is often used for older phones, cameras, and other accessories. Controllers produced before June 2015 can be identified by their lack of a 3.5 mm headphone jack on the bottom. Among these controllers are the Titanfall, Camouflage, Midnight Forces, Call of Duty: Advanced Warfare and Day One edition controllers.
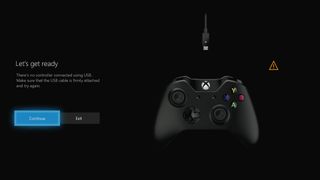
- Connect your Xbox One controller to your console using a Micro USB cable.
- Ensure your Xbox One is connected to the internet.
- Open the Settings app on your console.
- Navigate to the Kinect & devices tab.
- Select Devices & accessories.
- Select More options.
- Check the box labeled Firmware version. If the box reads "No update available" your Xbox One controller is up to date. If the box reads "Update," follow the steps below to update your controller.
- Press A over the Firmware version box.
- Select Update now to begin the update. If available, an update for your controller will now download over Xbox Live and automatically install. While downloading the update, do not unplug the Micro-USB cable.
If you try to update a controller that has already been updated, the Xbox One proceeds to the success screen within a few seconds to indicate it is already updated.
Updated January 16, 2017: Revised this article for the latest Xbox One update.
Get the Windows Central Newsletter
All the latest news, reviews, and guides for Windows and Xbox diehards.
Matt Brown was formerly a Windows Central's Senior Editor, Xbox & PC, at Future. Following over seven years of professional consumer technology and gaming coverage, he’s focused on the world of Microsoft's gaming efforts. You can follow him on Twitter @mattjbrown.

