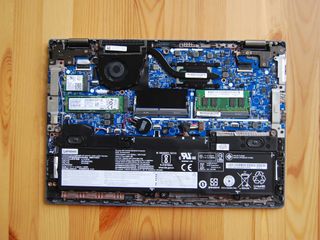
The ThinkPad L390 has been refreshed for 2019, bringing a new PCIe M.2 solid-state drive and Intel Whiskey Lake processor options inside the same durable chassis the L380 uses. A similar internal hardware setup is likewise used, and there are still two SODIMM RAM slots you can access for upgrades after purchase. Whether you saved a bit of money at checkout or you've switched gears and need a bit more performance, we can help you add to or upgrade the RAM inside your ThinkPad L390.
Hardware to get the job done
- Compatible SODIMM RAM: Crucial DDR4-2400 (From $24 at Amazon)
- Prevent damage: Rosewill anti-static wristband ($7 at Amazon)
- All required tools: ORIA PC toolkit ($33 at Amazon)
- Budget business laptop: Lenovo ThinkPad L390 (From $729 at Lenovo)
How to upgrade RAM in your Lenovo ThinkPad L390
Note: Before beginning any upgrades on a PC, it's a good idea to back up your data in the unlikely event something should go wrong. You'll also want to ensure you're not working in a static-filled environment, as it can cause damage to a PC's internal hardware. Consider investing in an anti-static wristband to avoid unnecessary damage.
Lenovo ThinkPad L390 models are available from Lenovo with 4GB, 8GB, 16GB, or 32GB of RAM, and you can even choose with the first three values whether you'd like to go with a single channel or dual channel setup. No matter how much RAM you check out with, you will find two SODIMM slots easily accessible within the L390.
As an upgrade, we recommend having a look at Crucial DDR4-2400MHz RAM. It's reliable, it's priced competitively, it's available in up to 16GB sticks, and there should be no compatibility issues with your L390.
Once you have the RAM you'd like to upgrade with in hand and have made any data backups, you can power down your L390, clear out a well-lit workspace, and proceed with the steps below. Our model is using just one stick of RAM, leaving the other slot free, but the steps remain essentially the same for removing the back panel, removing old RAM, and installing new RAM no matter if you have one or no free slots.
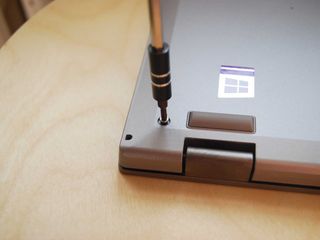
- Unscrew the nine silver fasteners on the bottom panel of the ThinkPad L390. They are designed to not completely back out to help prevent loss.
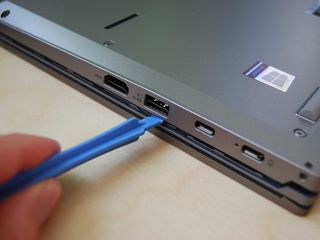
- Pry up the back panel using a pry tool. Start at one corner and carefully work your way around the device.
- Unclip the silver arms on either side of the RAM module by applying pressure. The RAM should pop up and remain at an angle.
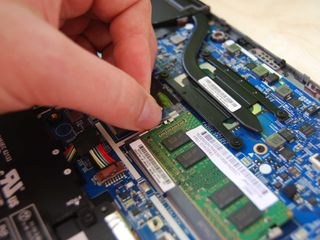
- Remove the RAM from the slot by carefully pulling it away.
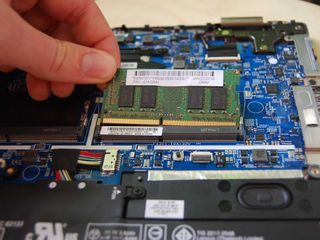
- Insert the new RAM at about a 45-degree angle. Notice it is keyed and will only fit the slot one way.
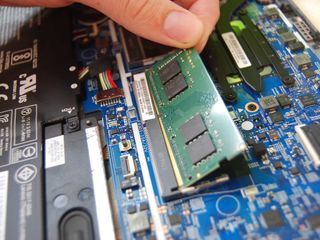
- Press down on the RAM until the silver arms clip back into place, securing it in place.
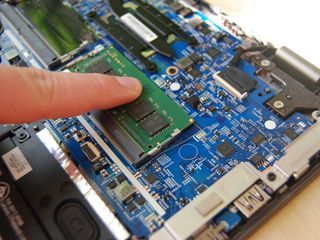
- Replace the bottom panel of the laptop by applying pressure until you hear it click back into place. Because the screws don't come completely away from the back panel, you might have to back them out again as you're replacing the panel to get it to sit flat.
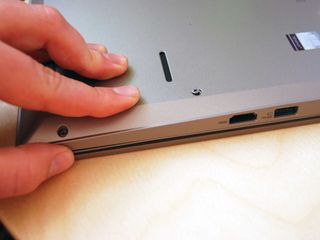
- Screw in the nine silver fasteners on the back panel.
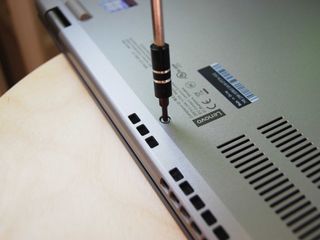
You should now be free to power on your ThinkPad L390 to ensure the RAM upgrade went according to plan. You can check to see if it's been recognized by your system with the following steps.
- Right-click the Start button.
- Click System.
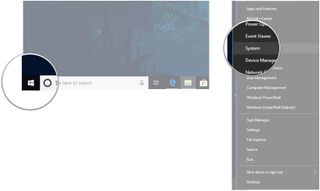
You should now be able to see the total amount of installed RAM in the Device specifications section. As long as it matches the total amount you have installed, your upgrade was a success.
Get the Windows Central Newsletter
All the latest news, reviews, and guides for Windows and Xbox diehards.
Our top hardware picks
We've had nothing but success with Crucial RAM, and this DDR4 SODIMM option is no different. It's available in 4GB, 8GB, and 16GB sticks so you can get the amount you want.
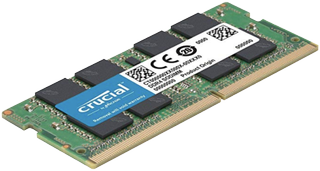
Reliable and affordable
It's not the only choice out there, but we love Crucial RAM for its price and durability. Choose from a number of sizes for your ThinkPad L390.
The ThinkPad L390 is a minor refresh of the L380, and while the display is still sub-par, gone is the slow SATA SSD in place of a speedy PCIe option. There's still the excellent ThinkPad keyboard, plenty of ports, upgradeable hardware, all-day battery life, and durable build available in silver or black colors. There are still two SODIMM RAM slots easily accessible after removing the back panel, allowing for future upgrades to keep your device relevant longer.
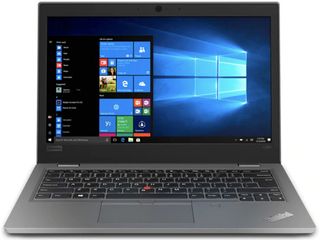
More affordable ThinkPad with a few fewer features
The L390 is a lot like the L380 — ports, display, battery, and overall design remain unchanged — though the SATA SSD has been swapped for faster PCIe and Intel Whiskey Lake CPUs now make an appearance. As long as you don't mind the display and don't need some of the extra features available with X and T series ThinkPads, you can save a few hundred dollars here.
Additional Equipment
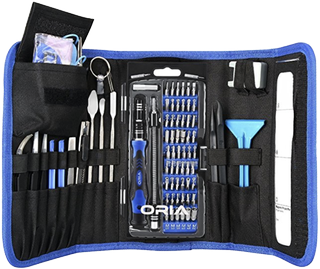
ORIA PC toolkit ($33 at Amazon)
Having the proper gear to work on your PC will always make the job much easier. Here you get a plethora of tools contained in a portable case.
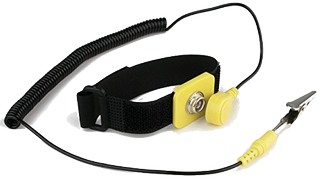
Rosewill anti-static wristband ($7 at Amazon)
Static electricity can damage sensitive PC parts, so remove the risk with an anti-static wristband. Fasten it around your wrist and clip it onto your PC for peace of mind.

Cale Hunt brings to Windows Central more than eight years of experience writing about laptops, PCs, accessories, games, and beyond. If it runs Windows or in some way complements the hardware, there’s a good chance he knows about it, has written about it, or is already busy testing it.
