Lenovo ships premium storage with the sixth generation ThinkPad X1 Carbon – usually the Samsung PM961 or PM971 – but for those who need to add more storage you can easily change it yourself. In fact, you could order the X1 Carbon with a lower amount of storage, buy your own larger (and faster SSD) and save some money by doing it yourself.
While the physical swap of the SSD is one of the easiest in any premium Ultrabook, it gets tricky if you want to restore an image created with the free Macrium Reflect software.
Here's what you need to know.
X1 Carbon SSD swap: What you need
There are a few things you'll need for this upgrade before we get started:
- A new m.2 SSD.
- A USB 3.0 enclosure for m.2 SSD drives (optional).
- A Philips screwdriver (this is a nice set for this type of work
- Cloning software.
- A blunt edge such as a pry tool or a credit card.
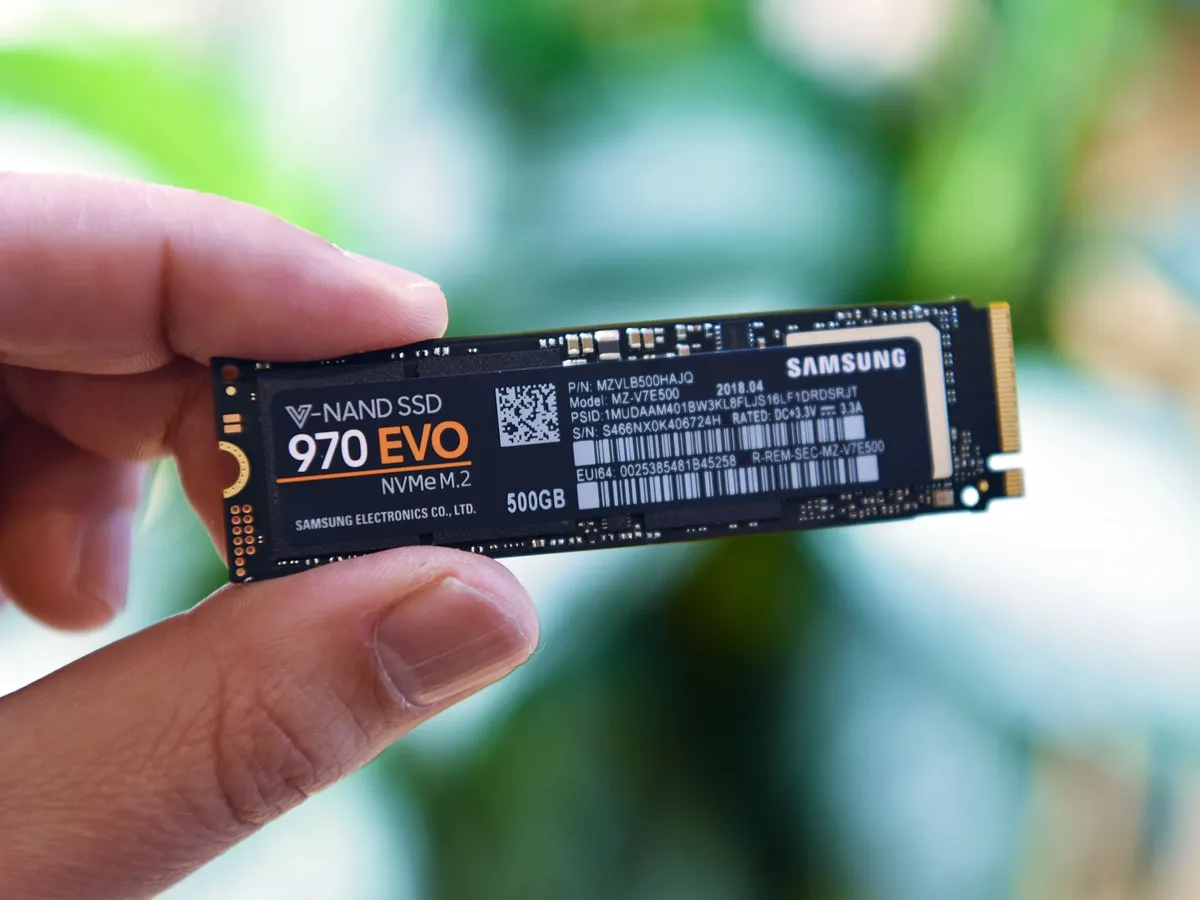
In this guide, we're going to be going from the stock 256GB SSD up to a new 500GB Samsung 970 EVO.
Samsung offers its own data migration software, or you can use the free Macrium Reflect (our choice).
You also need to backup any important information on your laptop before going any further. If anything goes wrong, you don't want to be without it. Check out our guide on backing up in Windows 10 if you need some help with that.
Cloning the existing drive

Before you take anything apart, you want to have the new SSD set up and ready to roll. As it's a direct replacement and not a secondary drive, you need to do it first, and outside of the laptop.
That's where the USB 3.0 enclosure comes in. This one is relatively inexpensive; it's a box with an m.2 (PCIe)-to-USB interface board. It allows you to connect the new SSD to a laptop via a regular USB 3.0 cable for cloning.
Open the enclosure and fix the unused SSD to the board using the screws provided, and then reassemble. Plug the drive into the ThinkPad X1 Carbon using the included USB 3.0 cable.
Next is the cloning software. The actual steps may vary from software to software, but the overall process should be similar. If you want to see an example using Samsung's SSD and software, check out this guide on doing a similar upgrade on the Dell Inspiron 15 7559 gaming laptop.
You need to choose the source drive and the target drive. Hit the magic button and allow the software to do its thing. In this case, we're going from a smaller to a larger SSD, so you shouldn't encounter any space issues.
Now you should have a brand new SSD drive set up exactly like the old one.

IMPORTANT: If you are using Macrium Reflect 7 (free) you need to switch PE Version during the Rescue Media Wizard portion. Instead of the default Windows PE 10.0 you need to switch to Windows PE 5.0. If you do not, when you go to restore the image the graphics will be at less than full HD, and you won't be able to complete the restore due to graphics incompatibility.
It's now time to grab the screwdriver.
Opening up the ThinkPad X1 Carbon

The ThinkPad X1 Carbon has just five regular Philips head screws on the bottom. They should come off with ease. Simply remove all five screws and set them aside in a safe place as you will need them later. Once they're all removed the bottom of the laptop will come away, but it'll need a little persuasion. Here's where the pry tool or credit card comes in. Slide it into the edges of the laptop and gently press the back cover away until you can lift it off completely. Start from the back of the laptop and gently work forward. You should hear some light snaps, which is normal.
The good news from here is that you don't have to dig too far into the belly of the laptop.
Swap the SSD drives over

The current SSD drive will be looking right at you, secured with a single screw. Carefully remove the screw, and the SSD will pop up slightly. Then pull it away from its mounting, holding the outer edges while you do it.
Installing the new one is the reverse of this process. Carefully hold the edges and slot the new SSD into the mounting, gold contacts first. You should have a new screw in the packaging as it is, so go ahead and secure the drive with it once it's in place. You'll know you're OK when you can't see the notches on the new SSD drive anymore.
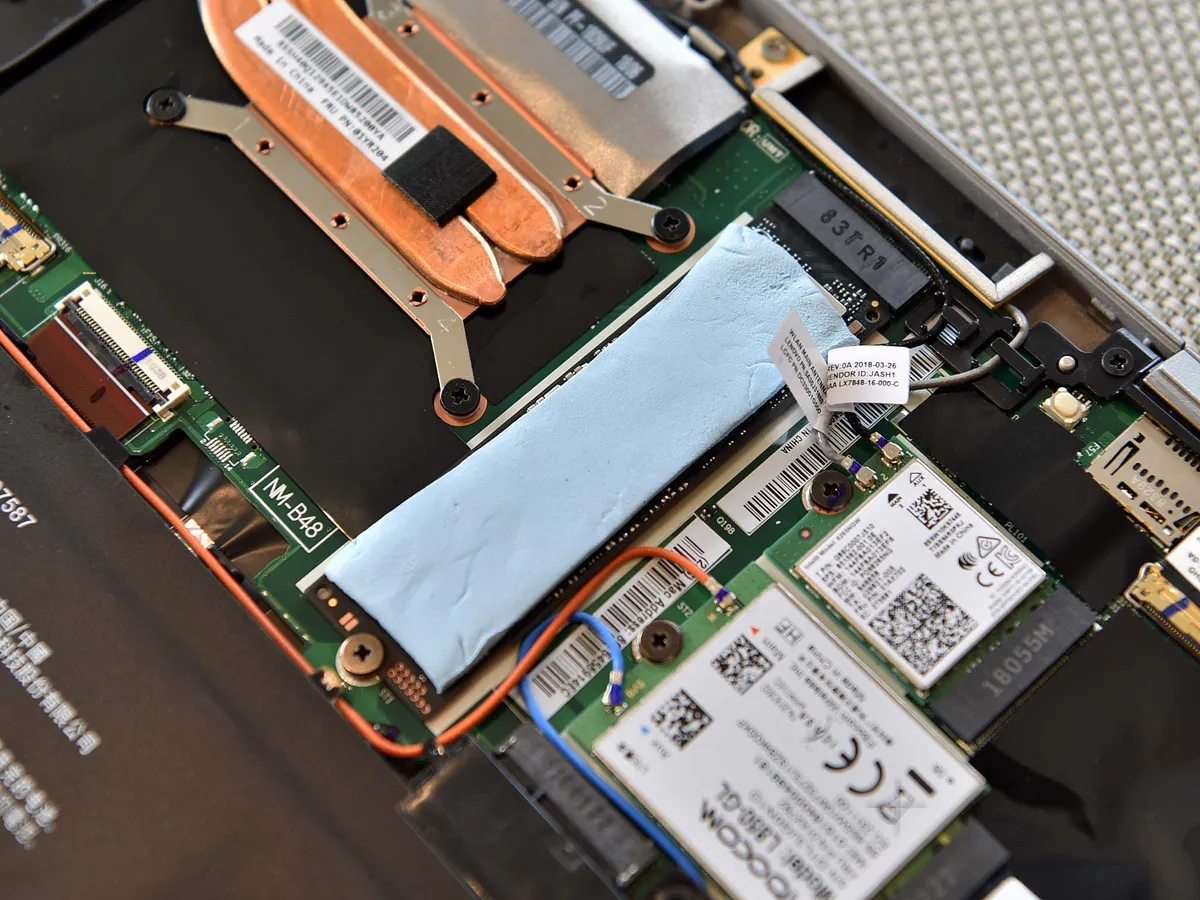
The Samsung 970 EVO (and especially 970 Pro) can get warm. Adding 1.5mm of thermal padding can help dissipate heat. Thermal padding works by transferring heat away from the SSD to the laptop chassis, so you may feel the bottom of the laptop get warmer this way, but it is keeping the SSD itself cooler, which is good for long durations of read and write sessions.
That's all there is to that. While you cannot upgrade the RAM on the ThinkPad X1 Carbon, you can swap out the SSD, Wi-Fi card, and add an LTE modem if you have the proper antenna already wired. The battery is also user-replaceable should it deteriorate over the next few years.
Cross fingers and boot up
Look after the existing drive carefully. Don't do anything with it right now and certainly don't think about wiping it just yet. A safe bet is to install it into the housing you used to clone to the new drive.
Because you've cloned the existing drive to the new one, in theory, you should now boot up as normal. Hit the power button on your Lenovo ThinkPad X1 Carbon and watch it boot up. If anything did go wrong, you still have the existing drive that you can reinsert to troubleshoot the process.
If you are using Macrium Reflect you will need an extra step. Make sure the ThinkPad X1 Carbon is set to boot to USB in the BIOS (hold F1 key during boot process > Startup > Boot). Boot to the backup drive containing the Macrium Reflect Rescue Media and restore the backup image to the new SSD.
And that's it. With SSDs readily available now in large capacities, you've got a not massively expensive way to increase your internal storage should you need to on your Lenovo ThinkPad X1 Carbon.
What's the difference between the Samsung PM961 and Samsung 970 EVO? Read speeds increased from 2,800 MB/s to 3,500 MB/s and write speeds almost doubled from 1,345 MB/s to 2,400 MB/s.

What to do with that old SSD drive?
Don't throw the old drive away. Once you're booted up and sure everything went well, you can use the USB enclosure you have to format this and leave it empty. From there, keep it inside the enclosure all the time, and you've got a nifty, highly portable SSD drive.
If the existing drive is 256GB or higher, you could also plug it into your Xbox One to expand your game storage. If you need guidance on what to do there, we've got a handy guide for you.